So you’ve got your van and you’re ready to start your build, but like any big project designing and planning is key. That’s why we’ll cover everything you’ll want to consider when planning your van conversion layout in 5 simple steps. As always, we’re open to suggestions so if you can think of a way we can do it better get in touch or share your advice in the comments below.
Step 1: Finding inspiration
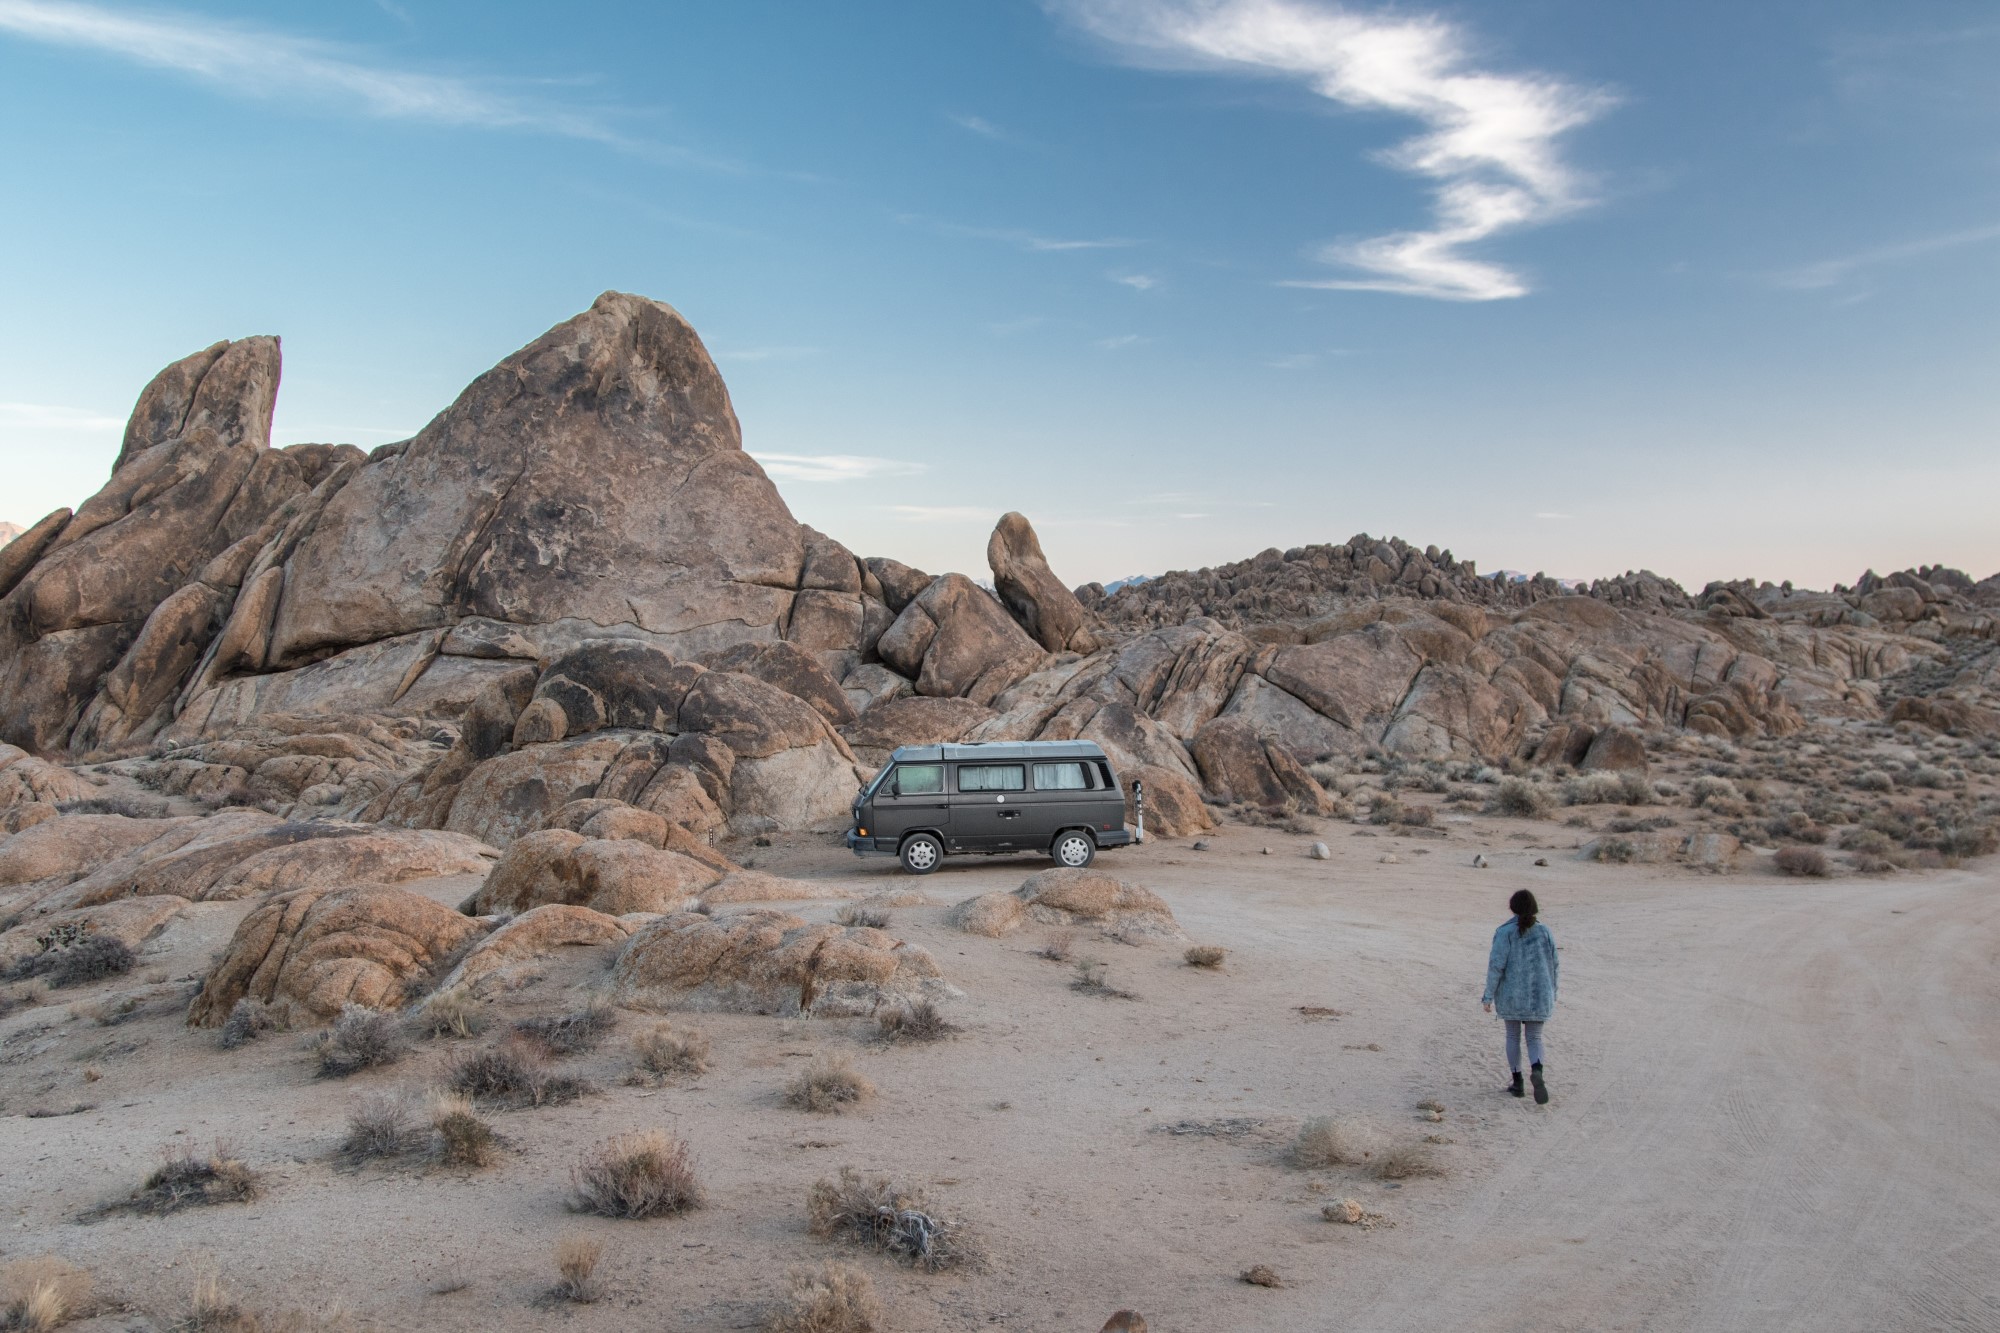
If you’re longing to start living the #vanlife dream then you’re probably already scouring the internet for tips and advice on becoming a van-dweller – maybe that’s why you’re here! – and if you’re not already we seriously suggest you get started.
There are tons of videos on YouTube and hundreds of blogs online providing all sorts of advice for people with different budgets and lifestyles. There’s also subreddits and Facebook groups full of experienced vanlifers bursting with advice on living a nomadic lifestyle.
Instagrammers are also a well known ‘vanlife inspo’ resource but when it comes to conversion inspiration Pinterest is our go-to. We use our Pinterest not only to showcase our collection of products but also to share inspirational camper builds, lifestyles and ideas.
Step 2: Choose your facilities
So now you’re done soaking up all the vanspiration the internet has to offer it’s time to decide on your facilities. Do you want a shower? A solar setup? A wood burner? The choices are endless. Our time on the road has given us a firm basis for our decisions. However, if you’re someone who’s never been camping, a week in the wilderness may give you a better idea of the things you’ll miss. Check out the stuff we can’t live without below.
Solar power
For us, this one is a must. We love a good digital detox but severing the digital umbilical cord for months at a time just doesn’t fit in with our work/life balance. If you live the same kind of lifestyle you’ll realise that solar power is absolutely essential. In our van, we have a 390w solar panel, 2 180AH leisure batteries and a 1500w pure sine wave inverter. We find this is more than enough to keep us going through the rainy days.
Heating
Not necessarily a deal-breaker for everyone. However, we’d love to spend time in Northern Europe so we figured it makes sense. We considered a wood burner but we really wanted to maintain the stealth element so we opted for a compact and quiet Propex air heater. Although we have heard good things about diesel heaters too!
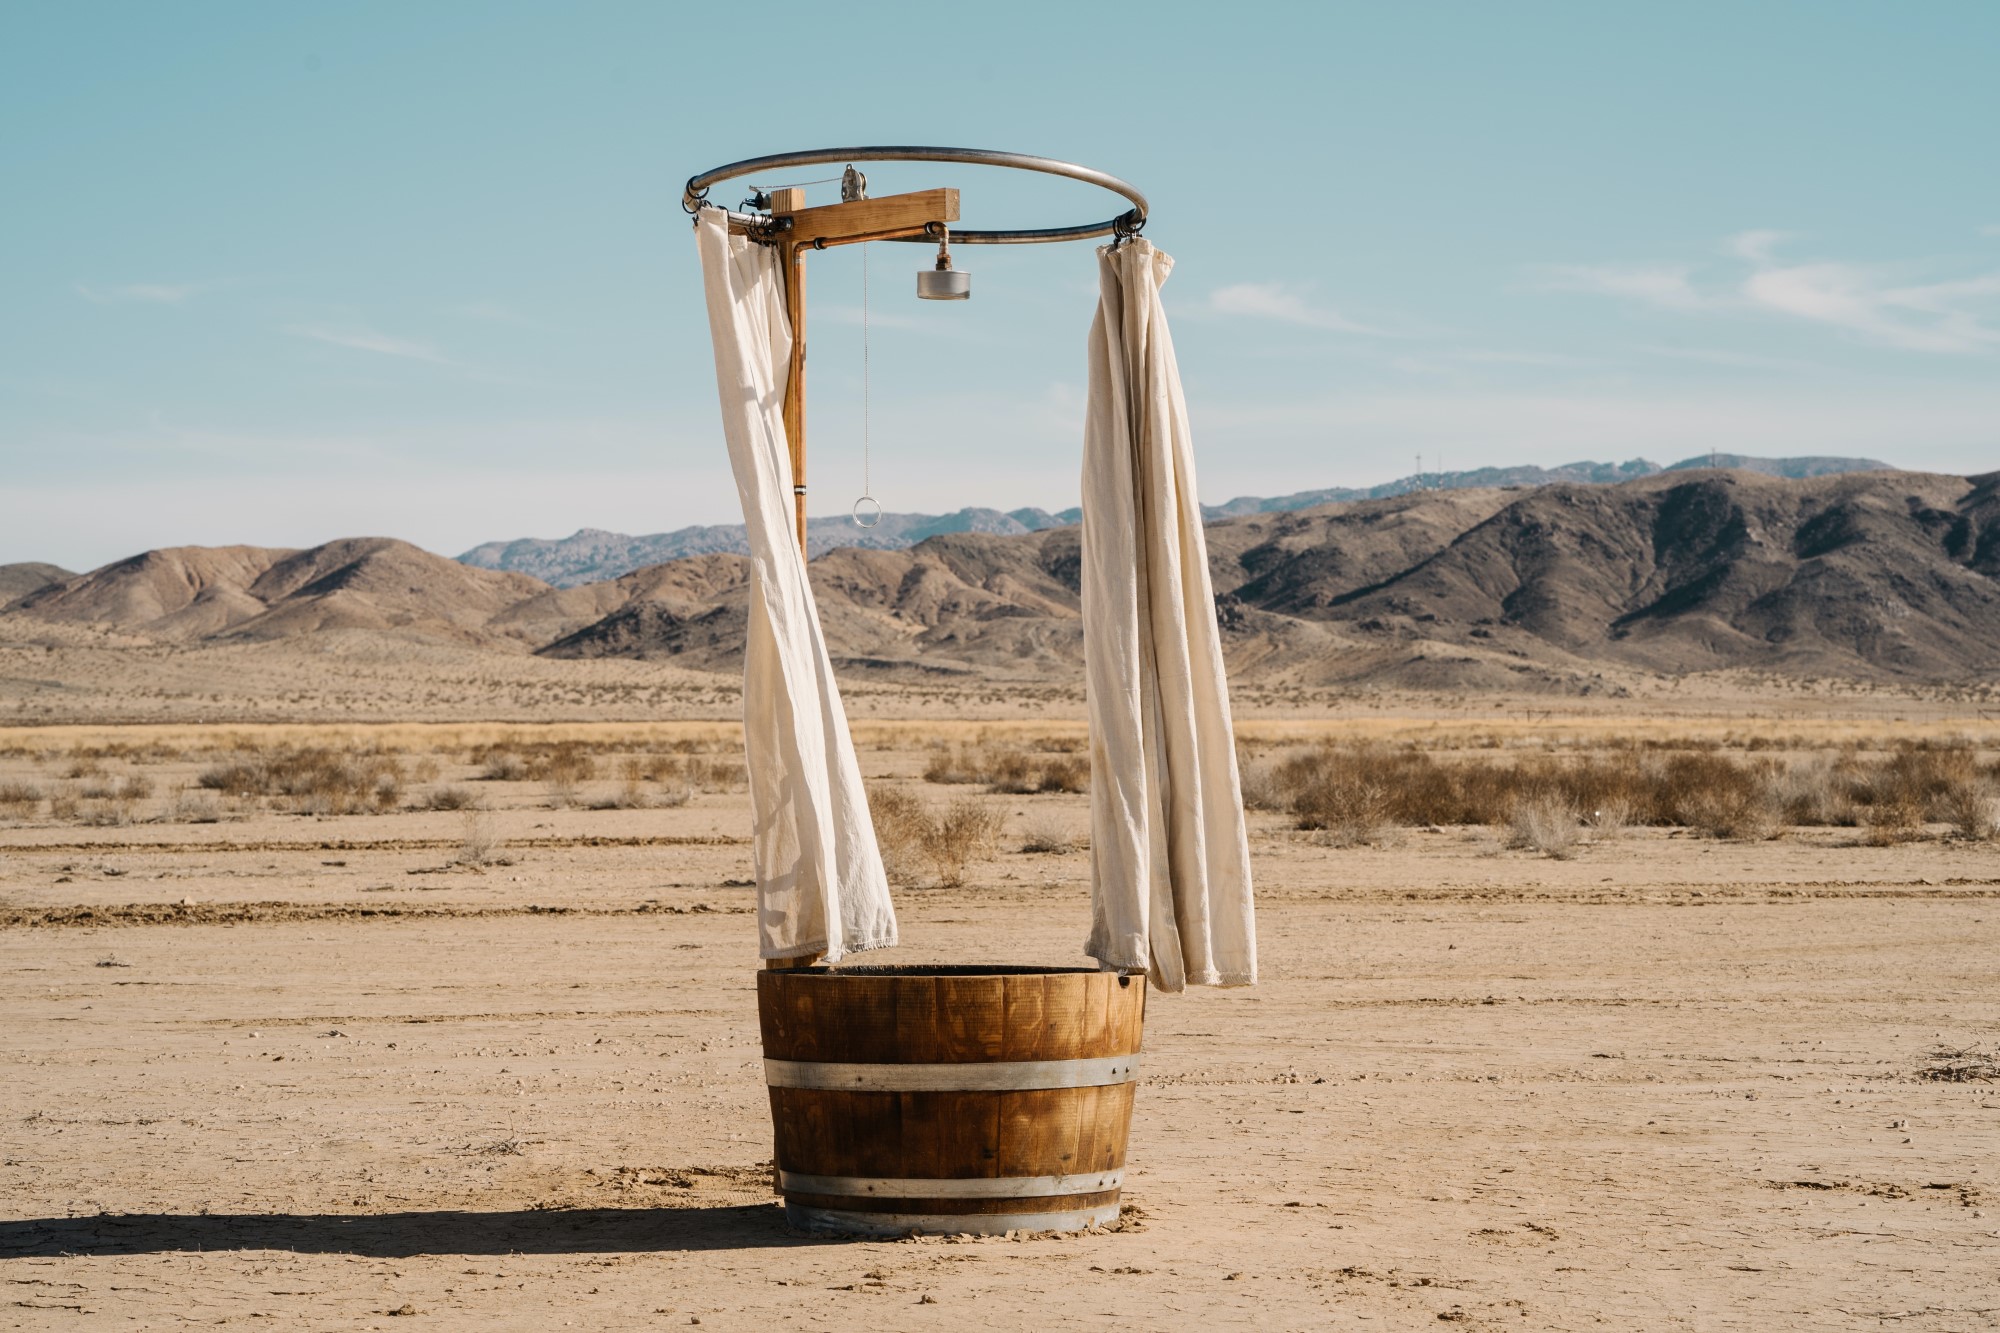
A shower
Washing in lakes and rivers like an ethereal forest maiden sounds majestic. In reality, when there are no natural water sources you’ll just end up desperately washing your hair in a public restroom #liveauthentic. If you don’t have a dedicated shower cubicle we suggest investing a simple portable rechargeable shower so you can always stay fresh wherever you choose to camp. Just remember, if you’re not using biodegradable soap alternatives you’ll want something to catch your greywater and so you can dispose of it properly.
Leisure Batteries
Our greatest moments have been found in the most secluded locations. That’s why good quality leisure batteries that allow us to go off-grid for days even in poor weather is a must. As we mentioned previously we opted for 2 180AH leisure batteries and they haven’t let us down so far!
LPG
Butane can be an expensive nightmare especially when you’re relying on those itty bitty canisters you hook up to a portable stove. We knew we wanted to stay warm and full of the best kinds of foods cooked in the comfort of our very own home on wheels. We knew we wanted to be able to do this with minimal cost and hassle; that’s where LPG comes in. Our 11kg LPG tank fuels our heater and our stove; with occasional heater use in the mornings and evenings, we estimate we get around 2.5-3 months full-time use out of it before we need to top up.
WiFi
When it comes to WiFi we tend to connect whenever we have the opportunity, but with good quality data allowances that allow unlimited tethering throughout the EU we haven’t needed to scout for WiFi too often. On top of this, we’ve also invested in a 4g booster that sits on our roof but this is probably overkill if you don’t need internet access for work-related tasks.

Step 3: Consider your layout
Next, you’ll want to get an idea of the layout of your conversion. This means you’ll need to think about what you’ll be taking with you. For example, are you a climbing, surfing, diving or cycling enthusiast? If so, you’ll want to make sure your layout can accommodate all your gear in a way that conserves as much space as possible.
Our Pinterest is full of great ideas you might want to consider when making your plans. You’ll also need to make sure you can safely seat and sleep all your adventurers. To get you started, here is an example of our final layout choices and our reasons why.
A Seating Area/Bed
We installed a Lagun table leg in our seating/bed area because:
- We need a spacious workspace
- It provides quick transformation into ‘bed mode’
- It provides extra floor space over a telescopic leg
- It keeps the cost down – ‘Rock And Roll’ style beds can be costly
- It provides plenty of storage space in the seats
We understand this set up totally goes against the popular ‘fixed bed with the garage’ build, but a large practical workspace was vital due to our day jobs as developers.
Windows
We kept windows to a minimum, installing only 2 windows to:
- Comply with DVLA requirements – our van is registered in the UK
- Maintain the stealth element – fewer windows means extra ‘stealthiness’
- maintain good insulation in the winter
Bulkhead
After much indecisiveness, we’ve decided to rip out the bulkhead and install a half partition behind the driver’s seat and combine this with a heavy, insulated blackout curtain as:
- Our MWB van is slightly smaller than your average size LWB Sprinter van
- We may install a swivel seat on the passenger side
- The insulated blackout curtain helps control the temperate in the living space on hot days and cold nights
Shower
Outdoor showers are simple but not so good in Scandinavian winter. With a MWB camper, we want a small pop up shower so we didn’t have to sacrifice space. Due to this, we built a simple pop up shower set up that can be used inside and outside of the van.
Kitchen
We love to cook inside our van with plenty of space so we incorporated a full-size oak kitchen counter with a large under-mount sink and double burner hob. We decided against a 3-way fridge and instead opted for an ultra-energy-efficient compressor chest refrigerator that we installed in a drawer with heavy-duty runners. This means when we cook outside our fridge can come too.
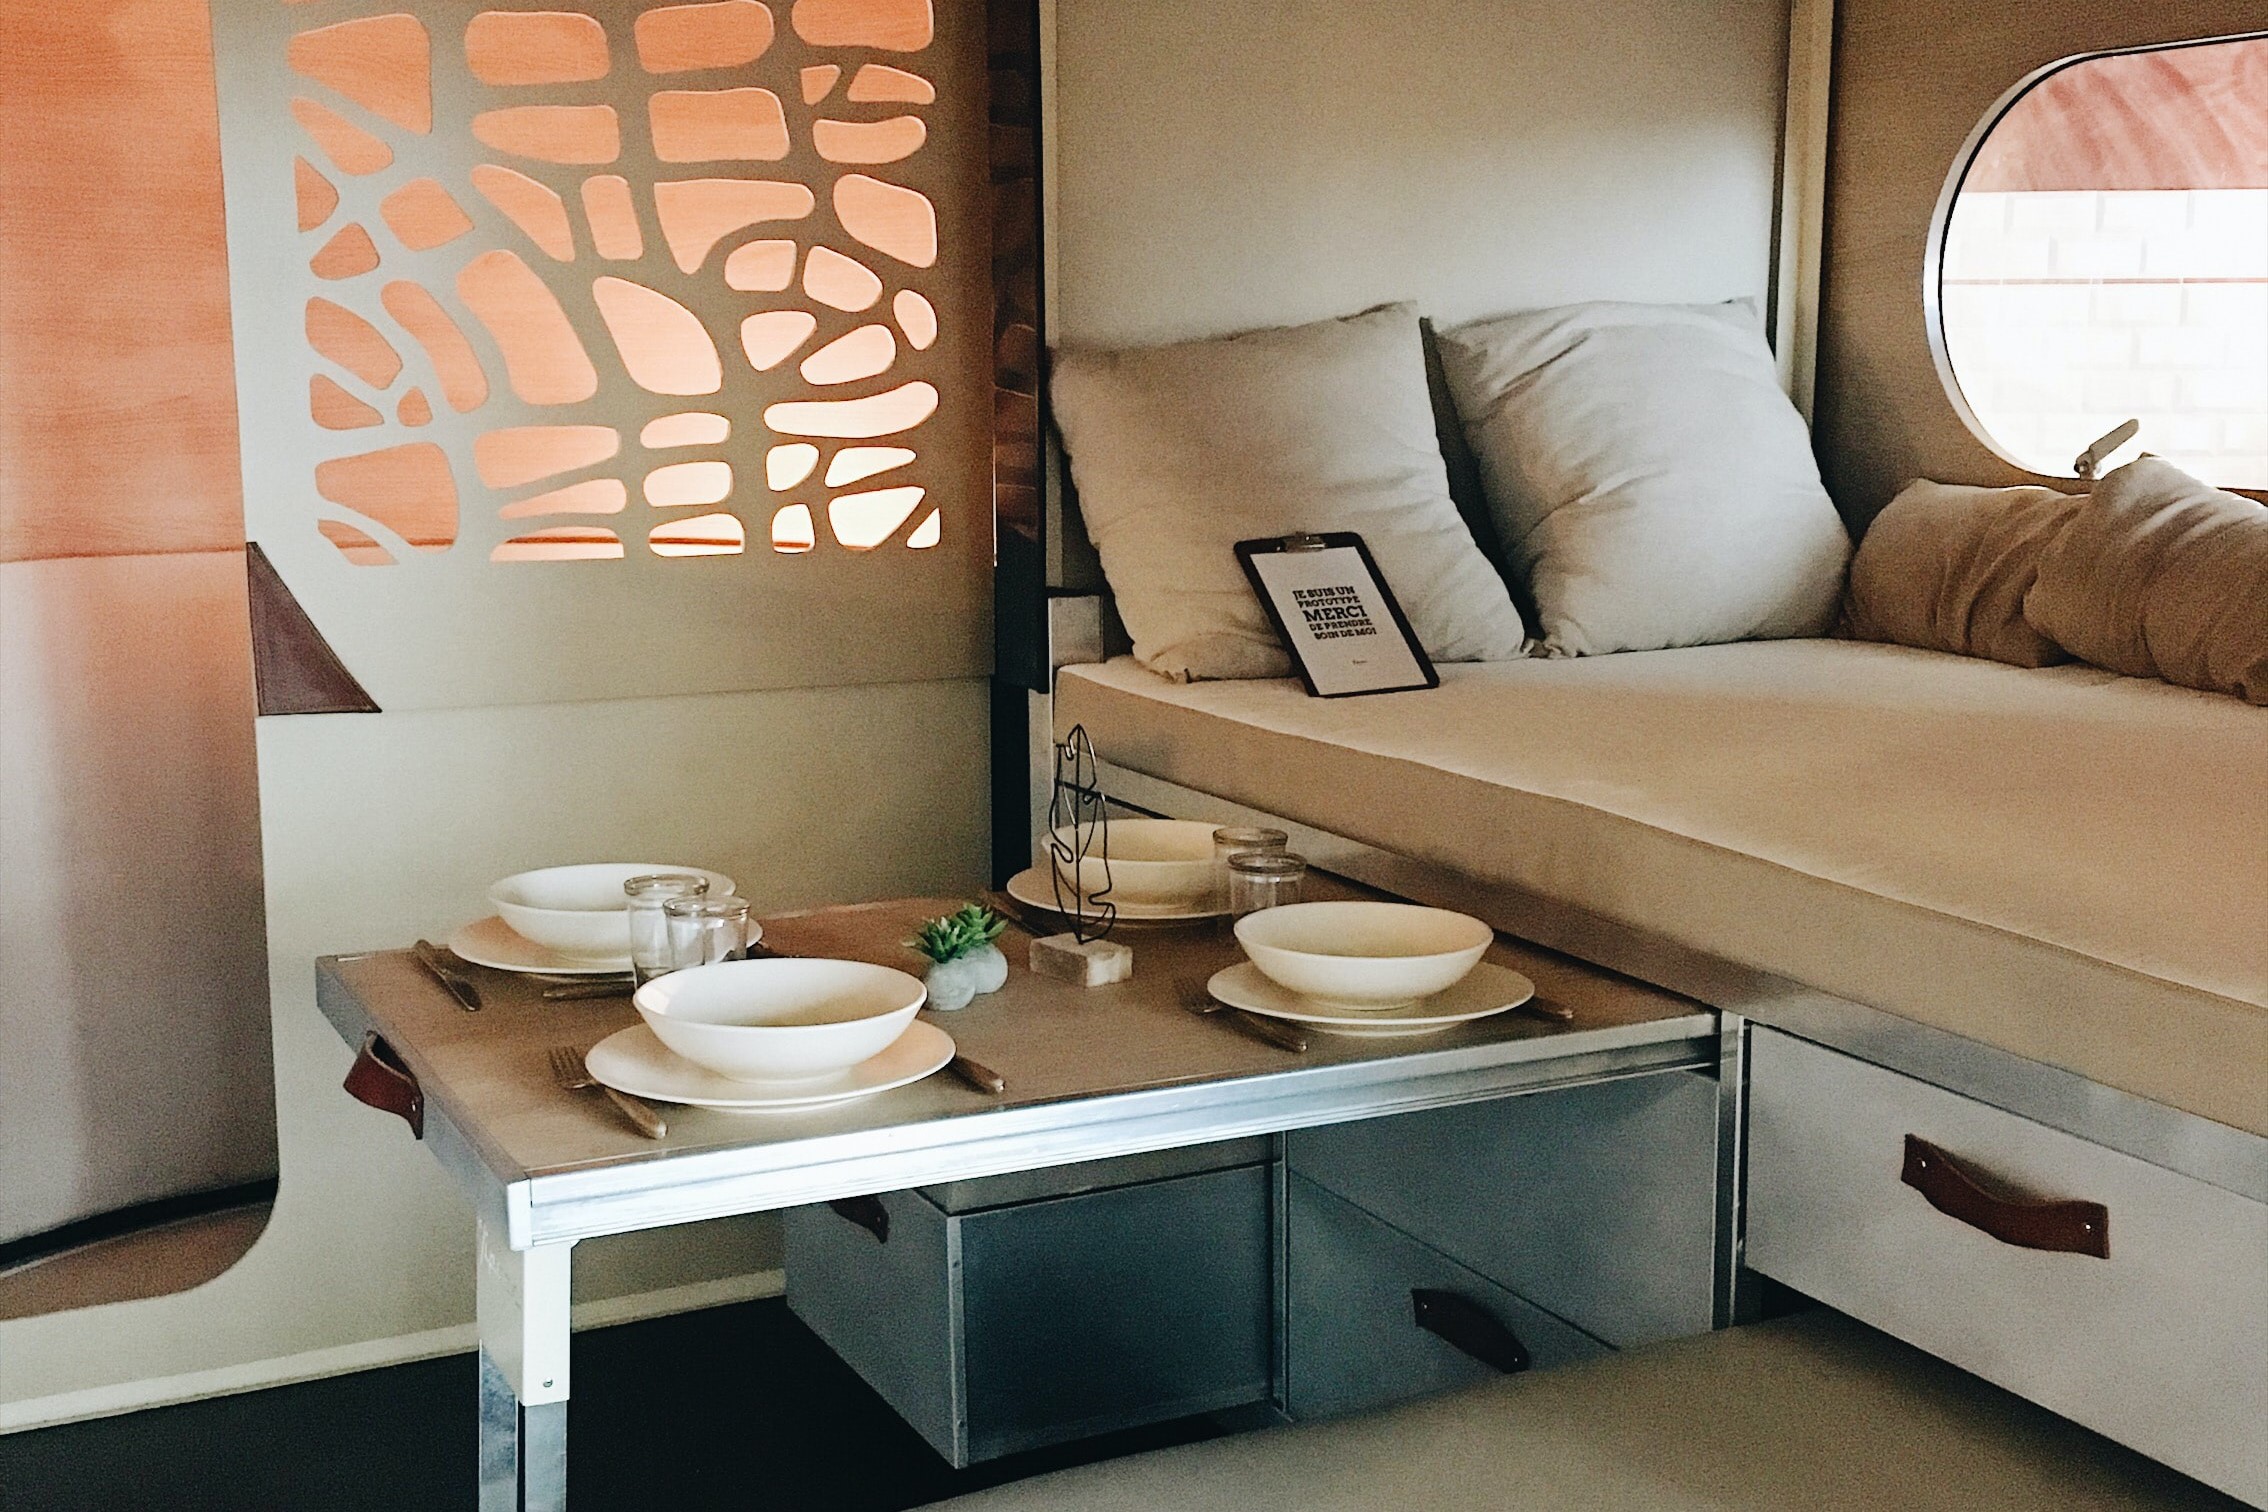
Step 4 – Interior Styling
A considerably less stressful part of making conversion plans is thinking about how you’re going to style your van interior. There are tons of options to choose from to suit you. Check out our Van Life Interiors and Van Life Aesthetic boards on Pinterest – our go-to for camper interior styling.
We decided we want a slightly bohemian, Scandi-minimal look for our interior. A space that feels homely and welcoming as opposed to the sometimes bland look and feel of a typical campervan interior. For these reasons, we’ve steered away from MDF and modern curved edge cupboards in favour of creating a bright and airy interior with neutral colours, natural wood and warm lighting.
When it comes to choosing campervan accessories we stock a range of enamel mugs, canvas pillows and totes bags that can be personalised to add the perfect finishing touch to your build.
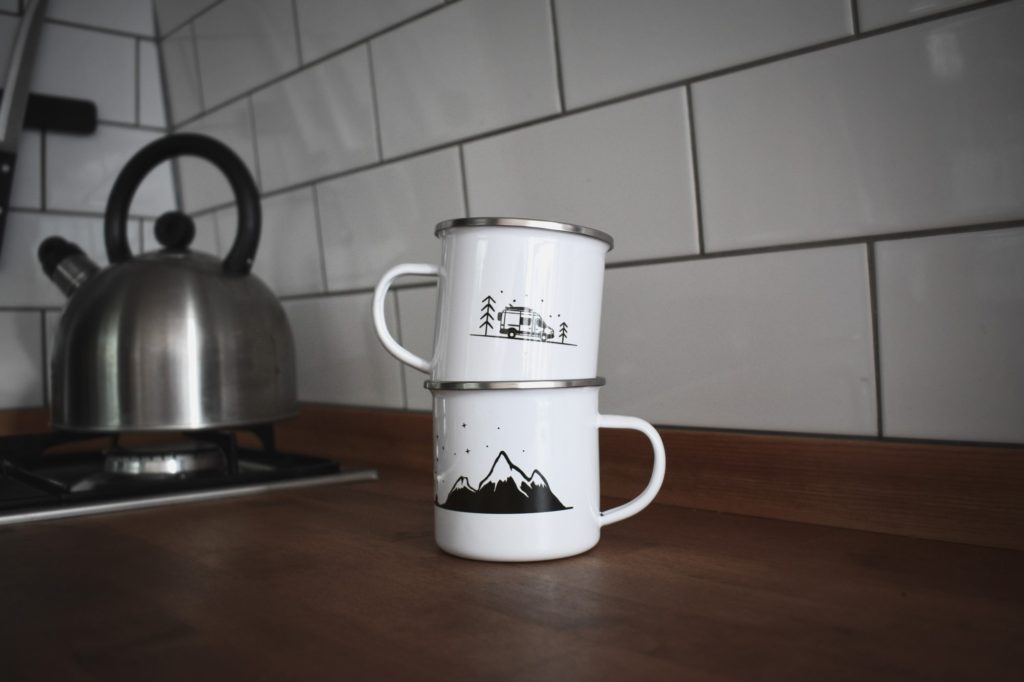
Featured products ‘Keep It Simple Vanlife Mug‘ & ‘Live Simply Vanlife Mug‘
Step 5 – The Design
Now you should have a good idea in your head so it’s time to knock up some designs. If you’re a designer by nature SketchUp Make is a great tool for creating 3D designs and also free for non-commercial use. Another great tool – although not free – is Adobe Illustrator which also has many powerful features.
In the end, we simply opted for good old fashioned pencil sketches. The reason being – with little hours in the day – we tend to be rather indecisive and wanted to choose an option that allows us to churn out new designs quickly as our ideas grow and change.
The great thing about designing your van is you can approach it in whichever way is best suited to you. However in order to save time we’d advise focusing on a floor plan which includes all of your facilities/gear whilst maximising available space before moving on to more detailed structural designs.
Resources
- Reddit /r/vandwellers
- Facebook Self Build Campervans
- Instagram #vanconversion
Looking for camper accessories?
-
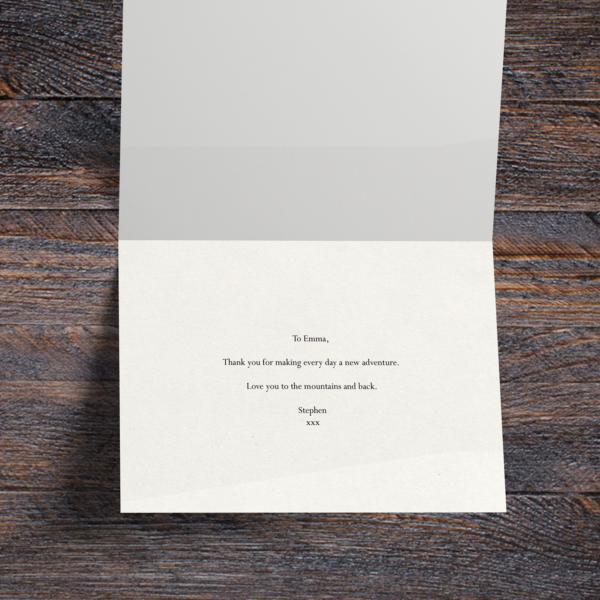

Adventure Awaits Campervan Card
Price range: £3.00 through £4.00 Select options This product has multiple variants. The options may be chosen on the product page -
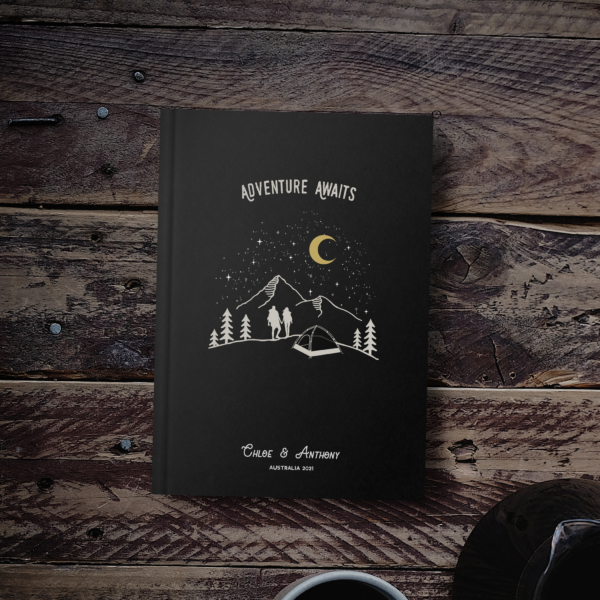
Adventure Awaits Personalised Couples Camping Journal | Black
Price range: £18.00 through £21.00 Select options This product has multiple variants. The options may be chosen on the product page -
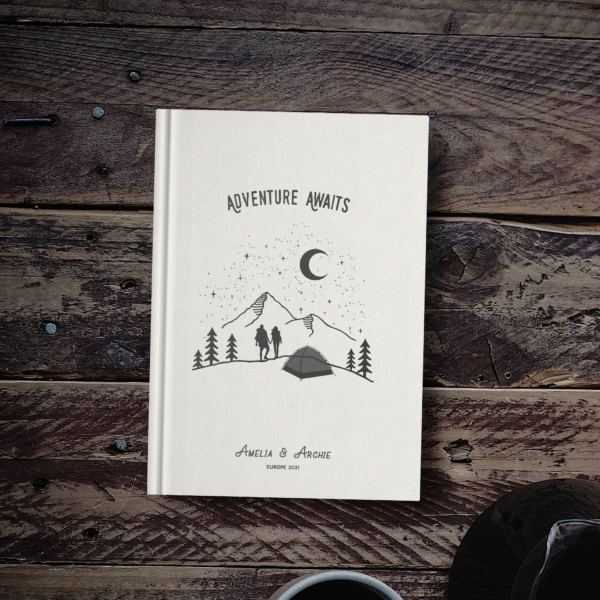
Adventure Awaits Personalised Couples Camping Journal | White
Price range: £18.00 through £21.00 Select options This product has multiple variants. The options may be chosen on the product page -
Adventure Awaits Personalised Couples Cycling Journal | Black
Price range: £18.00 through £21.00 Select options This product has multiple variants. The options may be chosen on the product page